


Delightfully crunchy, nutty with a little maple syrup sweetness.
Not Just Another Granola Bar Recipe
You could say these granola bars are at least seven years in the making. Sort of. Back when my daughter swam and my sons ran and played basketball in high school, back when I was a new vegetarian, and back when I started to see the connection between health and food, I sought to create a healthy and tasty bar for my kids. As a high school nurse, I saw a lot of athletes and a lot of injuries and wondered even then about the role of diet and nutrition on performance and health… With this rattling around in my head I played with a ton of granola bar recipes but never landed on one I liked. (Tara’s swim-friends will remember one attempt dubbed the “Flip-Turn” -I think there was chocolate and peanut butter…very sweet and leaden and probably not super-healthy.)
There were (and are) so many commercially available bars. A quick glance at their boxes reveal sugar, flour, and other refined ingredients- foods that essentially have the nutrients processed right out of them. Even Clif bars include three kinds of syrup, flour and oil. Look for a homemade granola recipes and you will find many touted as “healthy” that still use eggs, butter, sugar, etc.
Fast forward to today and, though I am FAR from expert, I have learned a thing or two. Some of the best and most reliable information I have was taught in the lectures presented in the Plant Based Nutrition Certification Program through E-Cornell. I also recommend checking out Nutritionfacts.org which has an untold wealth of videos, exhaustively researched and entertainingly presented by Micheal Gregor, MD.
I have tried to incorporate some of that wisdom into these Go-To Granola Bars and I think we have a winner here!
What makes these vegan granola bars healthier than others?
CASHEW BUTTER NOT OIL: As I discussed in a previous post, oil ain’t exactly good for you. In these granola bars I use cashew butter rather than oil which is a whole food and a healthier fat. It provides the many benefits of cashews such as cancer-fighting anti-oxidants and bone strengthening minerals. It also helps to bind these granola bars together!
OATS: Oats are ubiquitous in most granola bars and these are no exception. Whole oats have been shown to lower cholesterol (something only found in animal foods btw!), keep blood sugar stable and fight infection.
MAPLE SYRUP:Rather than using refined sugars, I added maple syrup which in addition to lending a more complex sweet taste supplies the minerals and anti-oxidants not found in white or brown sugar. (Anti-oxidants prevent cell damage. Damaged cells can become cancer cells!)
ALMONDS: Almonds taste great and have a lovely crunch! They also improve blood cholesterol, reduce heart disease risk, supply anti-oxidants and even LOWER post-eating blood sugar.


Tastes great and good for you too? Win and win!
But Do they taste good?
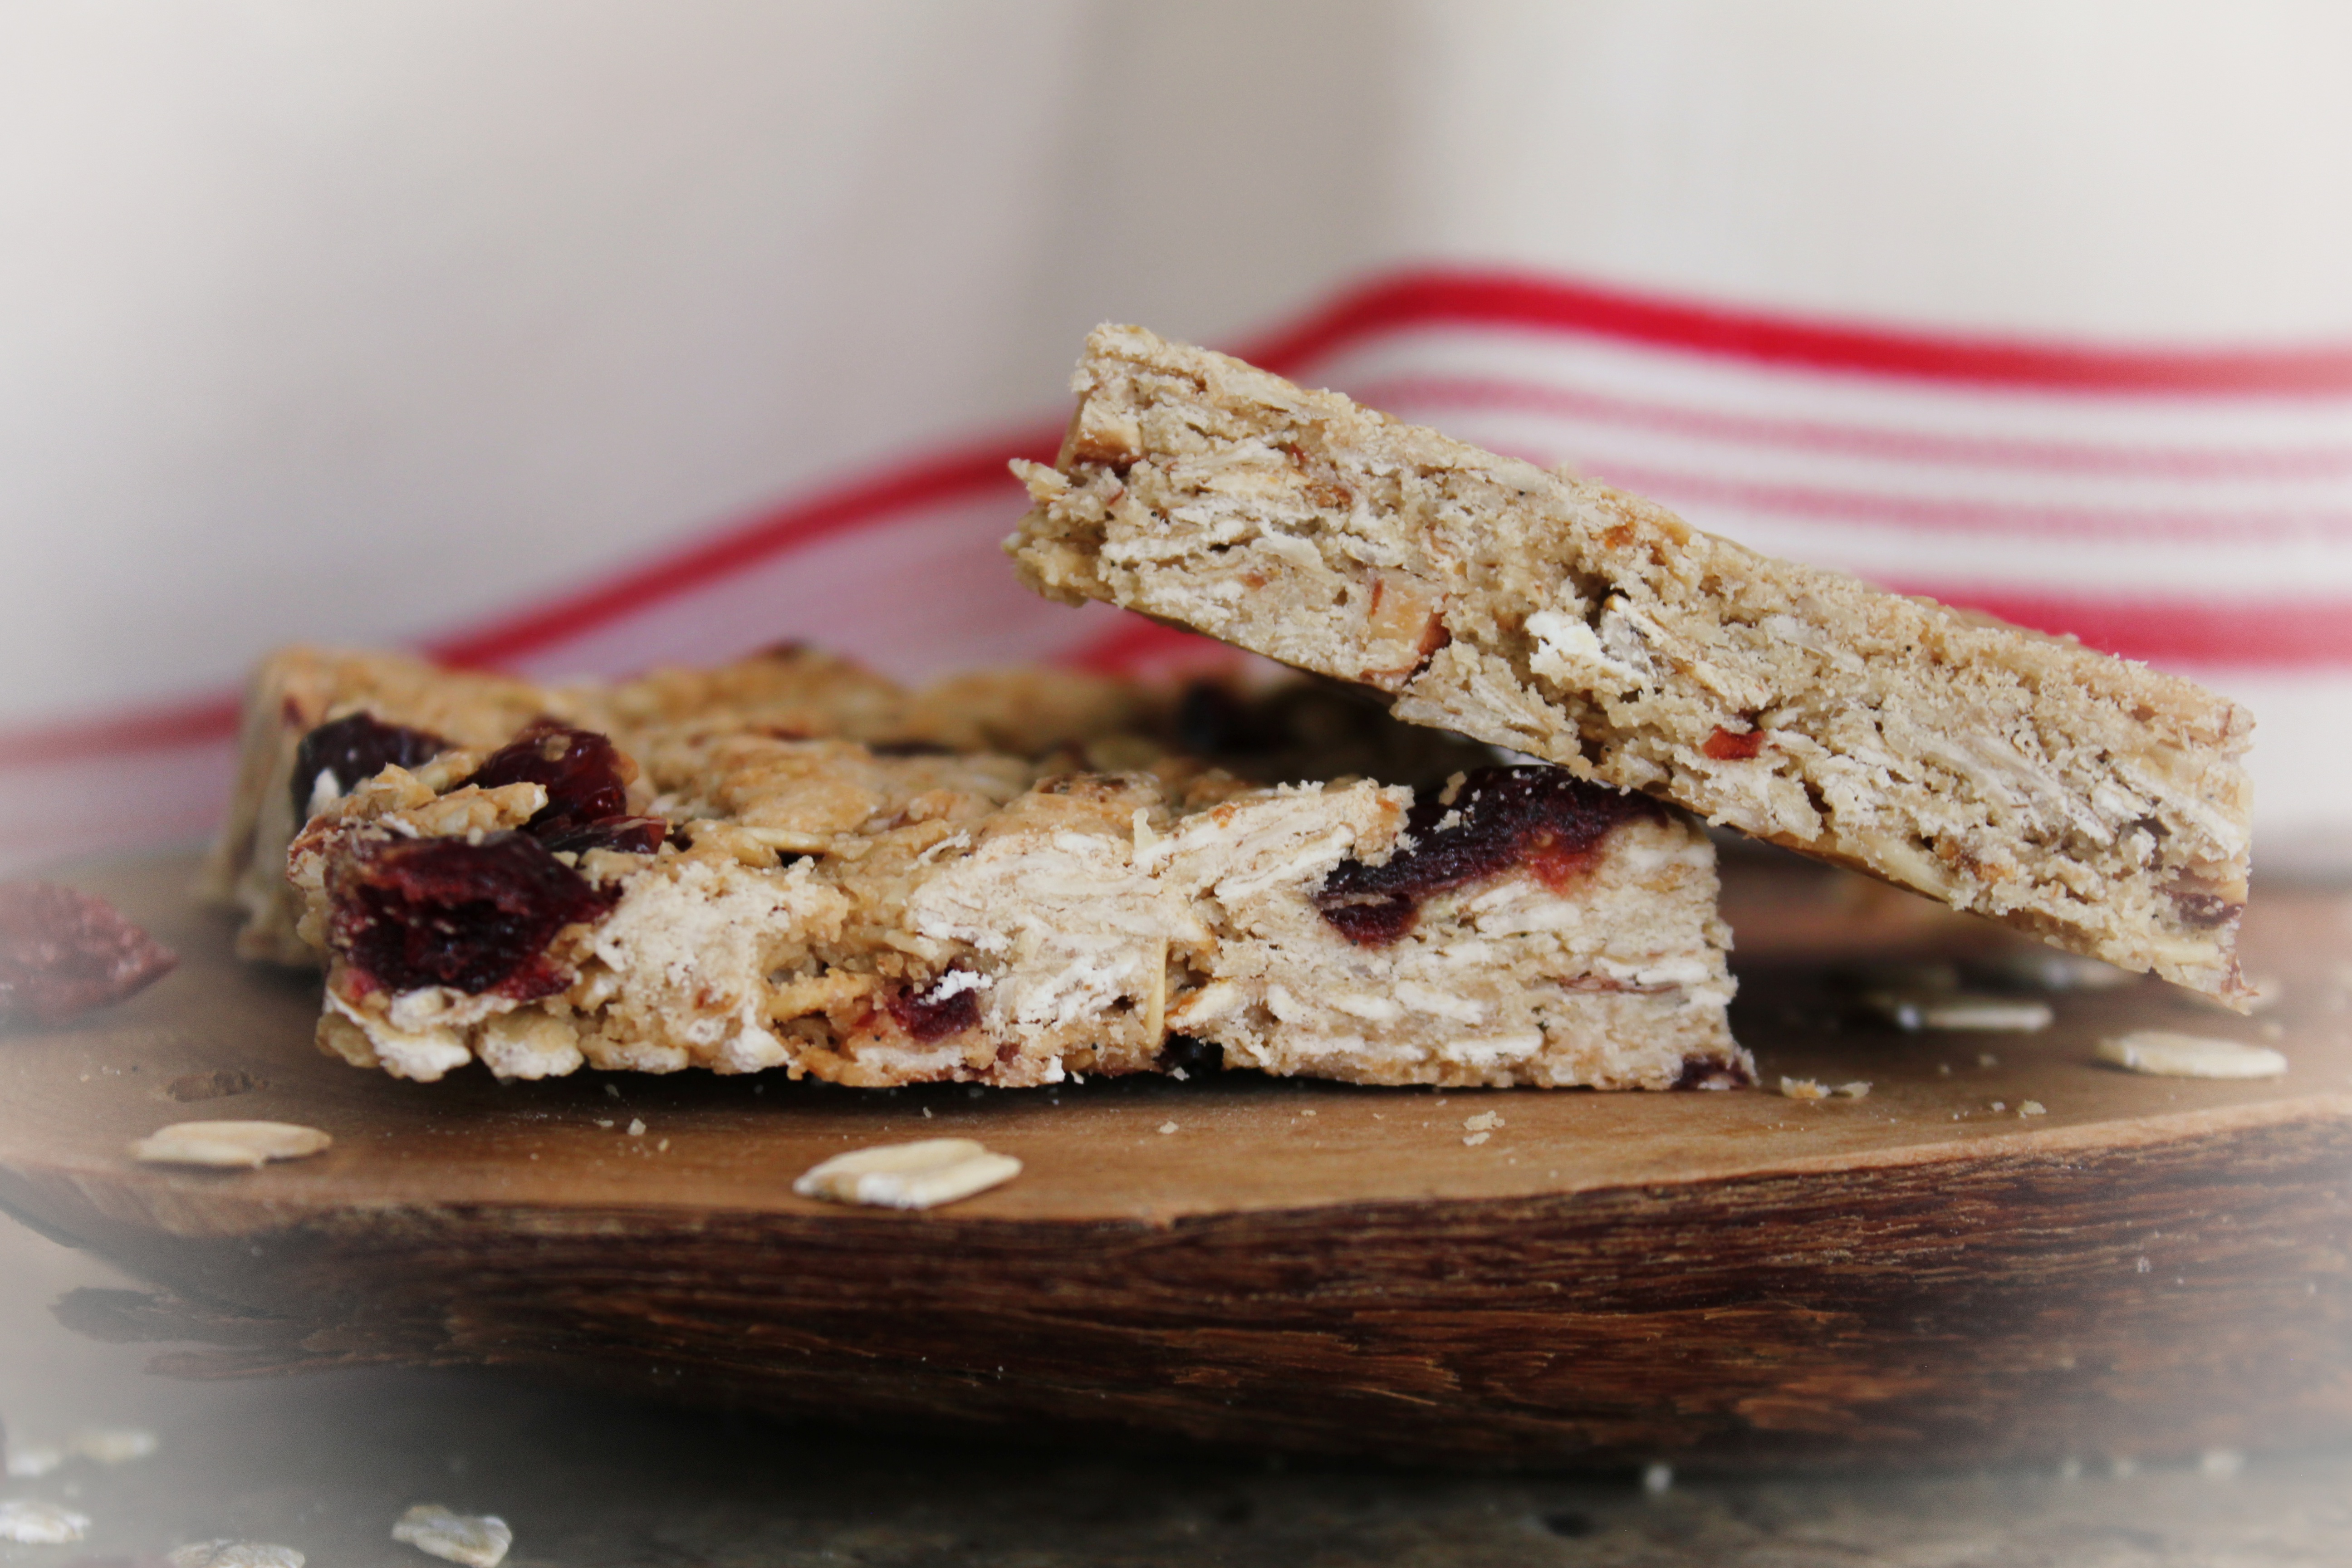
In a word, yes! I gave my Go-To Granola Bars to my fellow spin-class people to review and, though a very small sample size, the class feedback was thumbs up all around. A few suggested adding cranberries or raisins (I agree) and some thought dipping in chocolate would be sublime. I did take up the cranberry suggestion and will leave it to you to decide if you want to add chocolate (dark of course…also a good anti-oxidant!)
To me the perfect granola bar is vegan (duh), crunchy (but not peanut-brittle crunchy), sweet (but not sugary), nutty and tasty. They also have to be whole food and plant based (check and check) and portable, freezable, easy to make…basically go-to.
Tips for perfect bars every time
I have already touched on the advantages of using whole ingredients and, in a nutshell, the better the ingredients, the better the product.
TOAST THE OATS: Just a 7 minute toast in the oven brings out the nuttiness in this amazing grain.
MIX WELL: Unlike gentle folding you do with cake batter, etc, a good solid mixing ensures perfect ingredient distribution and no dry spots.


confession…though spatula in picture I used my hands 😉
FULL COURT PRESS: Press the granola mixture firmly in the pan. This helps ensure a less crumbly bar that holds together well.

I used foil and the back of a measuring cup to press down and even out. This is an 8 x 8 pan for half the recipe (I only made have with cranberries)
COOL IN THE PAN: Bake until just done. Cooling in the pan makes them easier to cut and not crumbly.
The Recipe
I think we have a winner here and I hope you think so, too! Comment below (good or bad, I can take it 😉 )
- 2 cups whole oats
- 1/2 cup chopped roasted almonds
- 3/4 cup oat flour grind oats in blender or food processor until fine
- 1/4 cup coconut flour
- 1 tsp sea salt
- 3/4 cup cashew butter
- 1/2 cup organic maple syrup
- 1 tsp vanilla
- 3/4 cup chopped cranberries
-
Preheat oven to 325 F.
-
Line an 8x8 pan with foil or parchment paper. You can use a larger pan for thinner bars and decrease baking time by about 5 minutes.
-
On a cookie sheet, toast oats for 10-15 minutes until fragrant and slightly colored. Remove and let cool.
-
While oats toast, chop nuts and mix in large bowl with dry ingredients.
-
Place the cashew butter, syrup and vanilla in a saucepan to warm over low heat. Alternately you can warm in microwave safe bowl in 30 second increments until warm and pour-able.
-
When oats are cool, add to dry ingredients and mix well.
-
Add cashew butter mixture to dry ingredients and mix very well so there are no dry spots.
-
Add in cranberries, raisins or any other mix in. This is optional but adds a nice contrast to the crunchy bar. Mix with hands to make sure all is evenly distributed.
-
Press mixture in prepared pan, pressing down with foil as pictured.
-
Bake for about 20-22 minutes until edges just start to color (longer for crunchier texture).
-
Cool, slice into squares. Yum!